I got the x axis done, last weekend actually! The X axis is by far the easiest and only needs 3 parts: the stepper motor, the mounting hardware, and the coupler to join the motor shaft to the leadscrew.
Going backwards, I decided to use an oldham coupler to link the motor to the leadscrew. An animation of an exaggerated use case is below. The oldham coupler consists of 3 pieces aligned with two tongue-and-groove interfaces This allows play normal to the axis plane. TL;DR: offset shafts are not a problem. In my case I know the shafts are within a mm or two, but directly coupling shafts that are almost-but-not-quite aligned puts loads on bearings and lead nuts and whatnot that lead to wear an tear. By decoupling the axial torque from bending in other directions you keep the force you want and eliminate the remaining forces.
I uploaded my x-axis oldham coupler to thingiverse. Here is the leadscrew-side press fit onto the end. You'll notice on thingiverse there are two parts to this print, the outside print and a thin print that fits in the fork of the leadscrew with holes. Several screws pass through the outer print into the inner print to transfer the torque from the coupling to the shaft. The print fits tightly eliminating slop. The other advantage (not realized until I printed it, but I'll take credit!) is that you can trim the inner print to get the alignment you want with the stepper, then bolt in place.

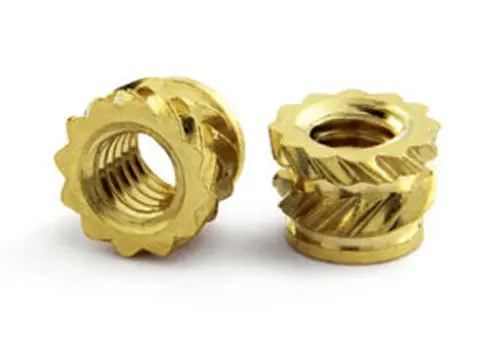
Here's the stepper side. 2 sets of 2 M3 bolts grip the shaft. They are held in place by hot melt inserts like these:
The hot melts are inserted into the print from the inside. By screwing the M3 bolt into the print, once the bolt hits the leadscrew it will drive the hot melts up into the print and provide tension on the shaft (limited by the ability of the plastic to keep it all together - admitteldy this print is a bit light around the bolts(

These two parts are interfaced by the middle part of the oldham coupler (not shown - check out thingiverse). I had to fiddle a bit till I was happy with it: sand it down so the parts move smoothly but aren't loose and then coat interfaces with some white lithium grease. Finally, I dragged the laptop out to the garage

And it was time for a test:
Which was pretty awesome! When I tightened up the dovetails to eliminate backlash/play, though, the motor started slipping in its coupling. I will need to make this part out of aluminum and tap holes for the set screws. I'm pretty confident the other parts can remain plastic as long as I need them to.
Next up... y-axis!


No comments:
Post a Comment